
The Files page is where you upload, organize, and manage all digital files used across your Content Vault subscriptions. From here, you can upload new files, rename existing ones, see where files are being used, and manage storage.
This page acts as a central file library that powers all subscription types (Content Drip, Library Access, and Content Pass).
Accessing the Files Page
In your Shopify admin:
Apps → Content Vault → Files
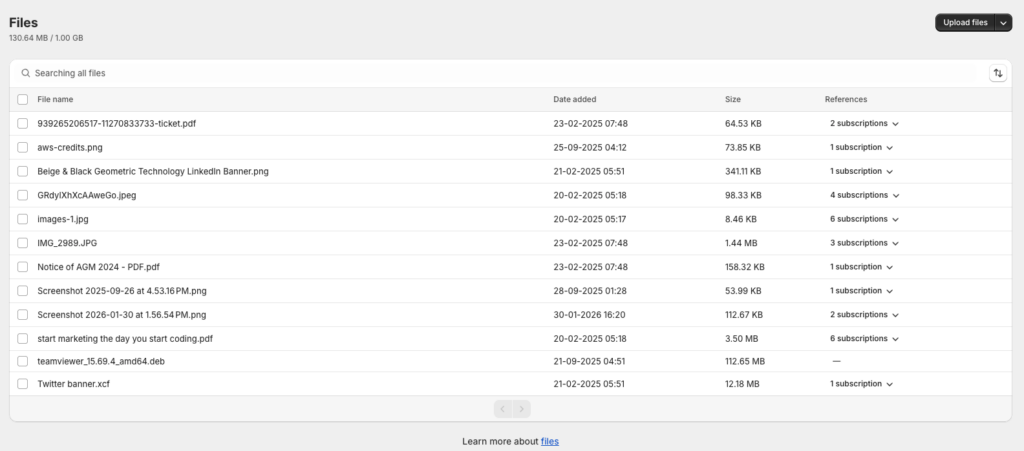
At the top of the page, you’ll see:
- Total storage used (e.g.
130.64 MB / 1.00 GB) - A searchable list of all uploaded files
Uploading Files
You can upload files in two ways:
Upload from your computer
- Click Upload files
- Select one or more files from your device
Upload from a URL
- Click Upload files → Upload from URL
- Paste a direct file URL
Uploaded files are immediately available to be linked to subscriptions.
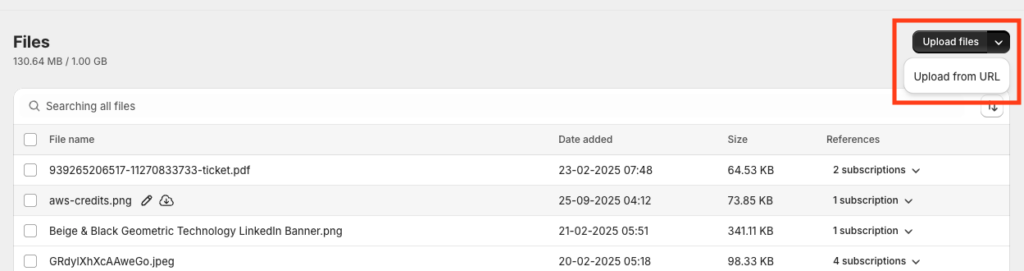
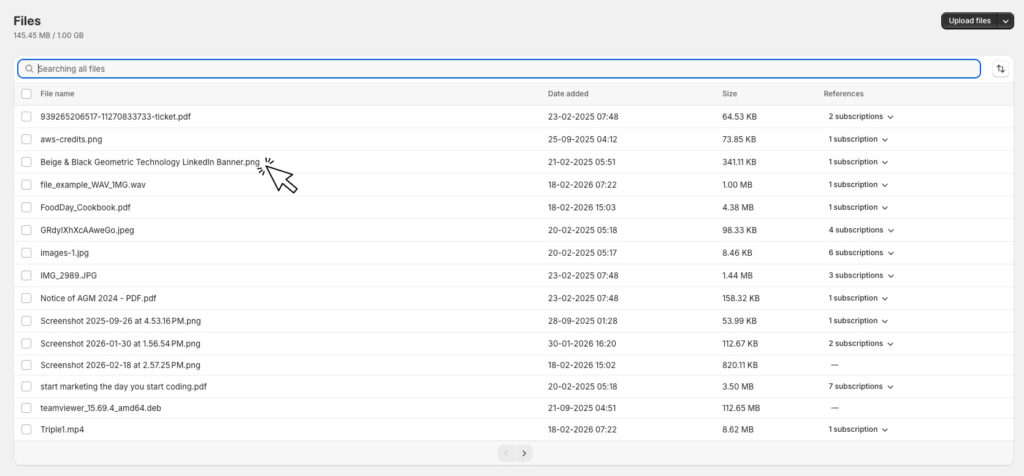
Understanding the Files Table
Each row in the table represents a single file.
Columns explained
File name
The name shown to you and (when applicable) to customers.
Date added
When the file was uploaded to Content Vault.
Size
The file size, counted toward your storage limit.
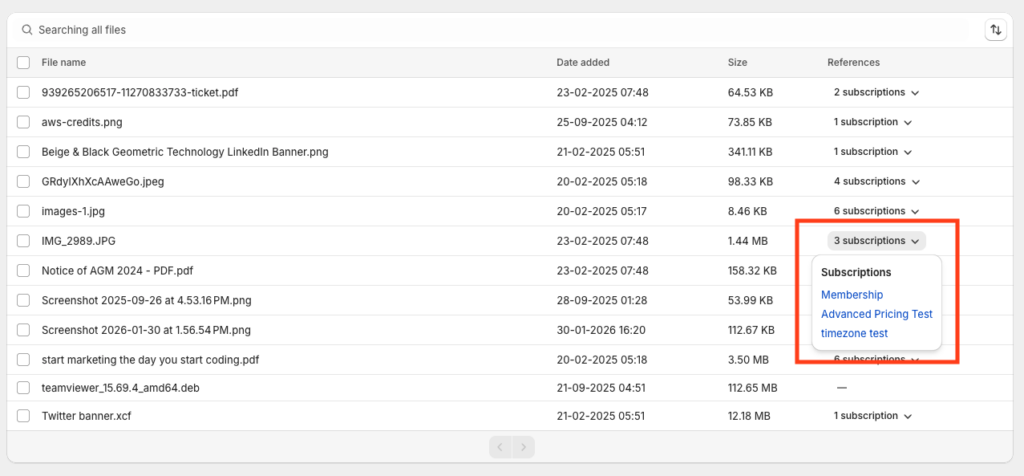
References
Shows how many subscriptions currently use this file.
You can click this to see exactly which subscriptions reference it.
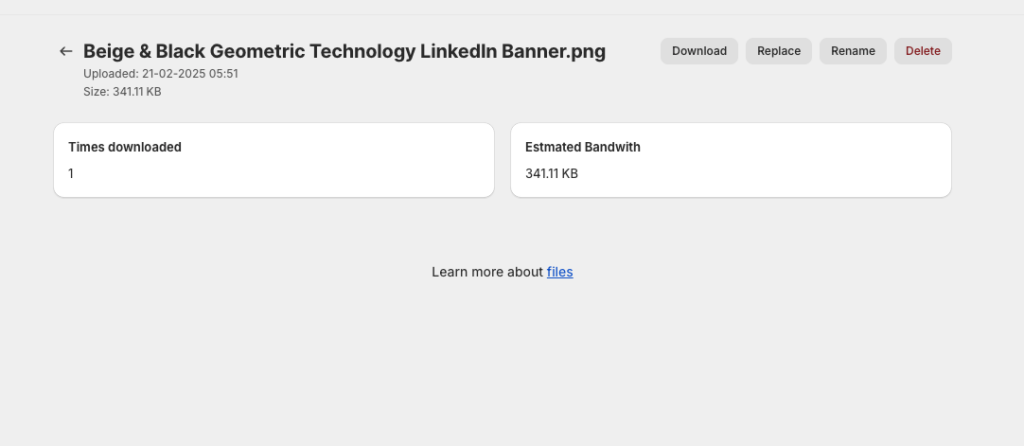
Viewing & Managing a File (File Detail Page)
You can now click directly on any file name in the Files table to open its dedicated File Detail page.
This page gives you deeper control over the file, including:
- Download
- Replace
- Rename
- Delete
- View download statistics
- Email previous customers with a new file version
At the top right of the page, you’ll see action buttons:
- Download
- Replace
- Rename
- Delete
Below the file name, you’ll also see:
- Upload date
- File size
- Times downloaded
- Estimated bandwidth usage
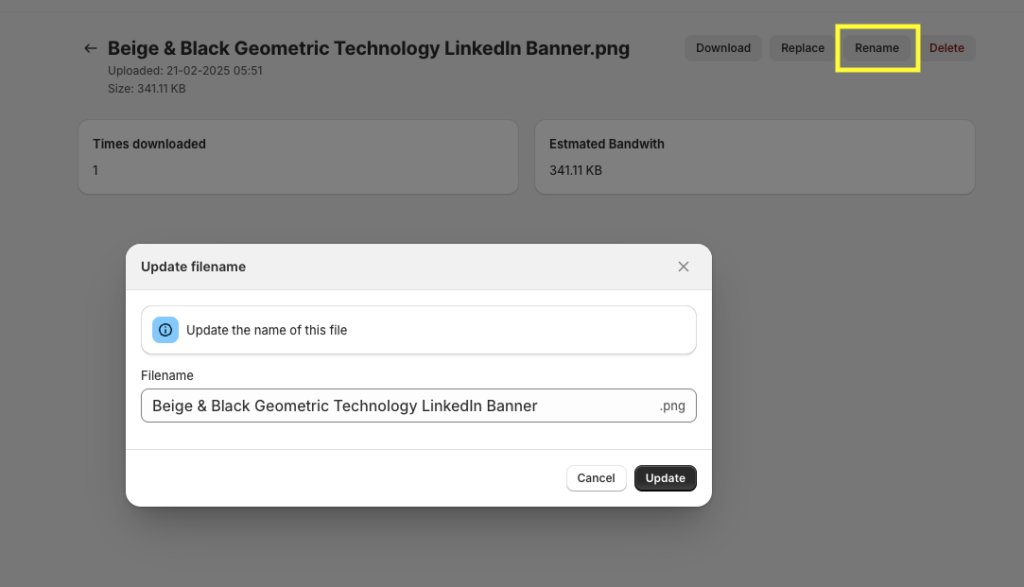
Renaming Files
From the File Detail page
- Click the file name to open it
- Click Rename in the top right
- Enter the new name and save
Renaming a file:
- Does not break existing subscriptions
- Does not affect customer access
- Updates the name everywhere the file is referenced
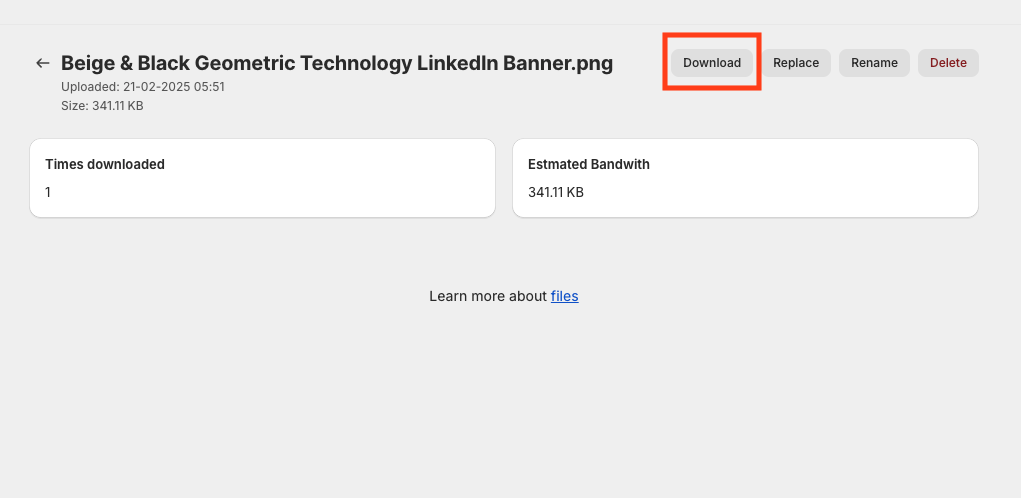
Downloading Files
From the File Detail page
- Click the file name
- Click Download in the top right

Replacing a File
If you need to update a file (for example fixing an error or uploading a newer version), you can replace it without breaking references.
To replace a file:
- Click the file name to open the File Detail page
- Click Replace
- Upload the new version
The file will be replaced everywhere it is currently used across subscriptions.
Optional: Email customers with the updated file
When replacing a file, you’ll see an option:
☐ Email customers who have previously downloaded this file with a new download link
If enabled:
- Customers who previously downloaded the file (and still have access) will receive a new download link automatically.
- This is useful when issuing updates, corrections, or improved versions.
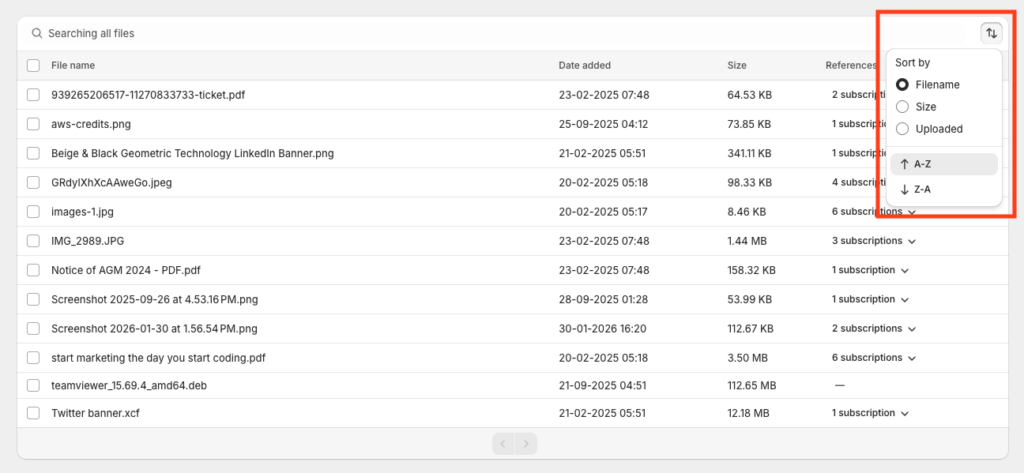
Searching & Sorting Files
Search
Use the search bar at the top to quickly find files by name.
Sorting
You can sort files by:
- File name
- Date added
- File size
- Reference count
This helps when managing large libraries.
Managing File Usage Across Subscriptions
Files are shared assets in Content Vault.
A single file can be:
- Used in multiple subscriptions
- Linked to multiple tiers
- Included in different subscription types
The References column helps you see where a file is being used
If a file is referenced by active subscriptions, it should not be removed unless you intend to remove access.
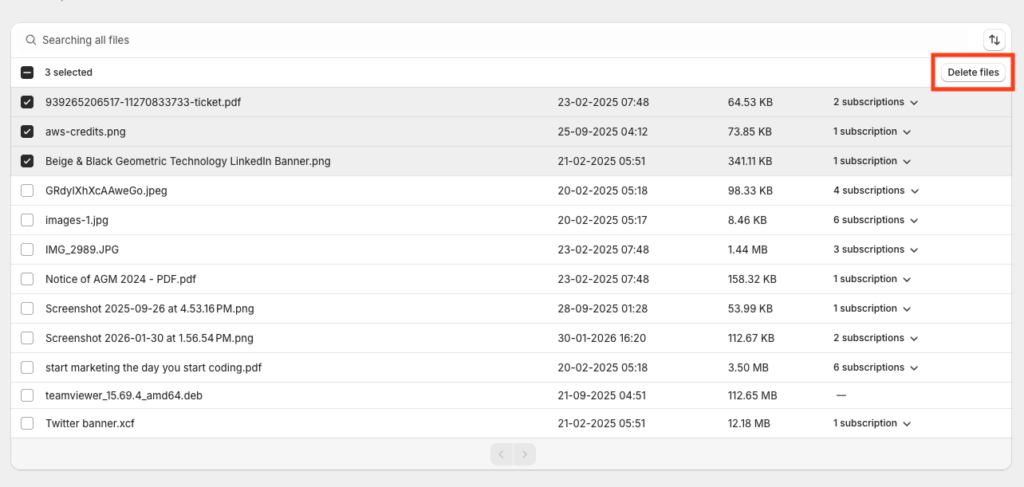
Deleting Files
To delete one or more files:
- Select the checkbox next to the file(s) you want to remove
- Once selected, a Delete files button will appear at the top of the table
- Click Delete files
- Confirm the deletion when prompted
Best Practices
- Use clear, descriptive file names
- Reuse files across subscriptions when possible
- Periodically review the References column
- Monitor storage usage as your library grows