
A Library Access Subscription gives customers access to a library of digital files based on the access rules you configure. Access can be limited to an active subscription or retained after cancellation, depending on your settings.
Step 1: Create a New Library Access Subscription
- In your Shopify admin, go to Apps → Content Vault → Subscriptions.
- Click Create New Subscription.
- Choose Library Access as the subscription type.
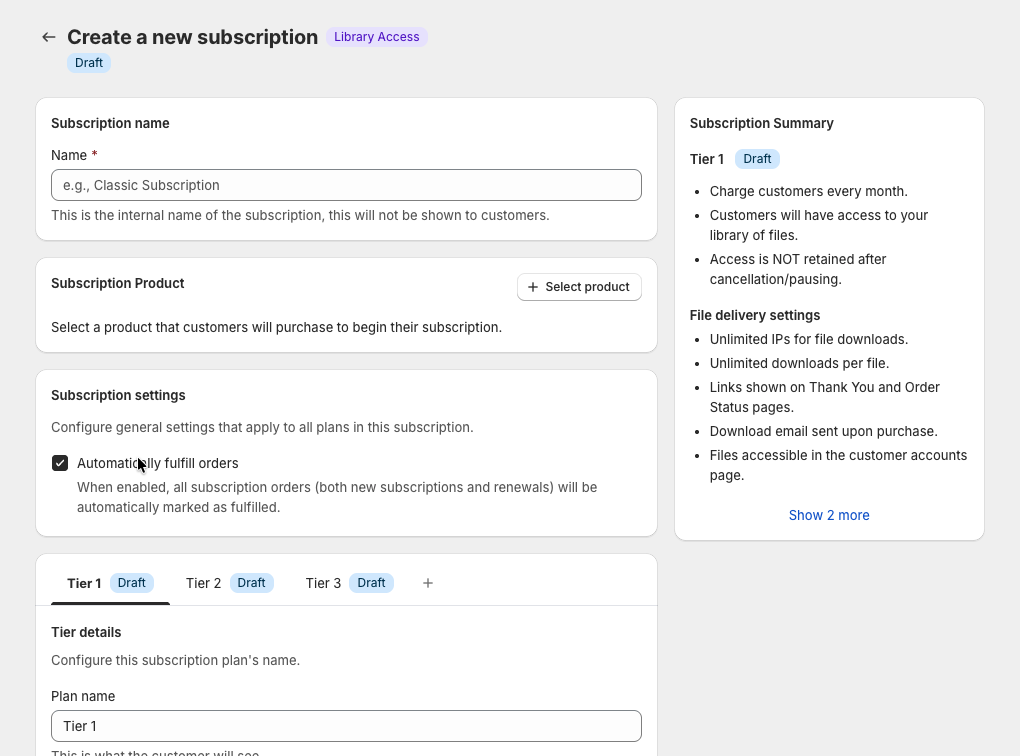
Step 2: Basic Subscription Details
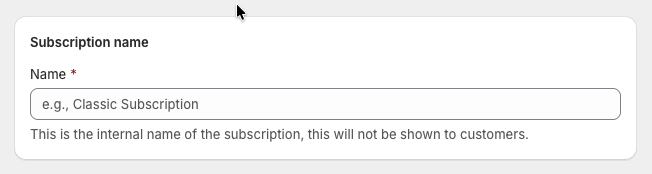
Subscription Name
Enter an internal name for the subscription (this is not shown to customers).
Example:
Premium Library Membership
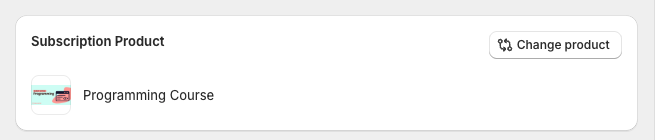
Subscription Product
Select the Shopify product customers will purchase to begin their subscription.
This product:
- Appears on your storefront
- Is where customers choose their tier
- Triggers subscription creation when purchased
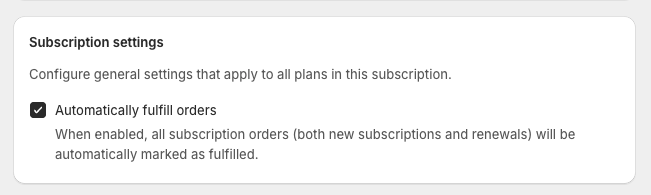
Subscription Settings
Choose whether to automatically fulfill subscription orders.
- Automatically fulfill orders (enabled by default)
Recommended for most digital subscriptions. - Disable this only if you need manual fulfillment logic.
Step 3: Configure Subscription Tiers
Each tier represents a different subscription option customers can choose on the product page (not at checkout).
You can add multiple tiers (e.g. Basic, Pro, VIP).
Each tier has its own:
- Customer-facing name
- Pricing rules
- Billing frequency
- File access & delivery settings
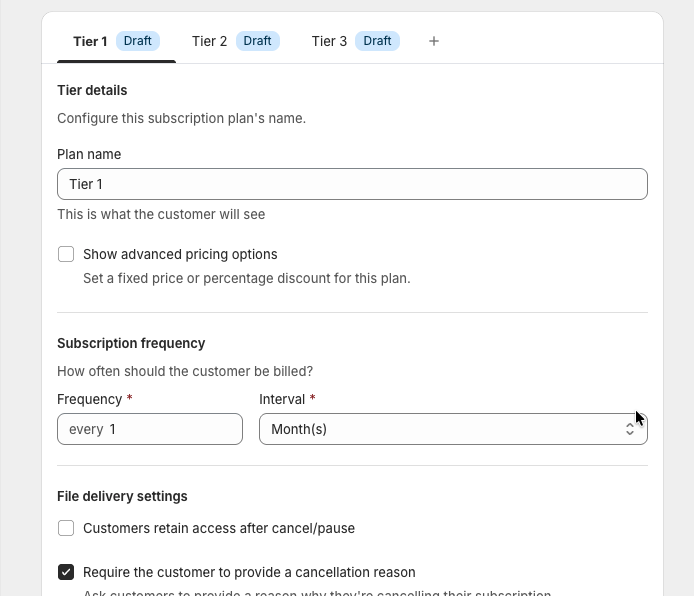
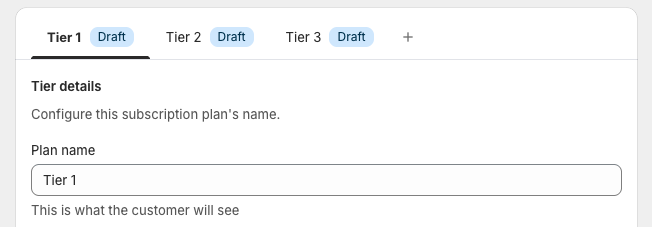
Tier Settings (Configured Per Tier)
Plan Name
This is what customers see on the product page.
Example:
Starter,Pro,All-Access
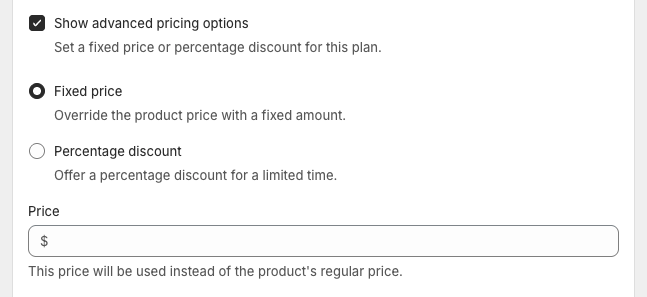
Advanced Pricing Options
(Optional)
- Fixed price – Override the product’s base price
- Percentage discount – Apply a discount to the product price for a limited time
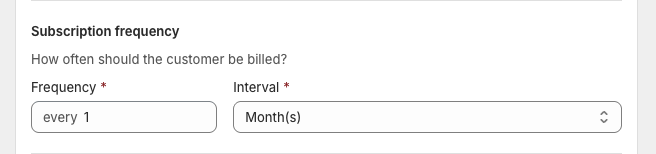
Subscription Frequency
Set how often customers are billed for this tier.
- Frequency (e.g. every 1)
- Interval (e.g. month, year)
Each tier can have a different billing frequency.
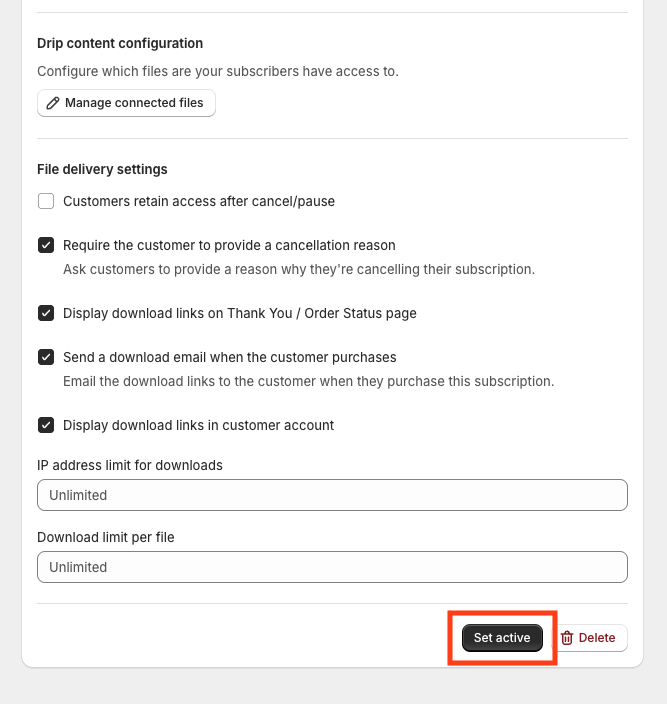
Step 4: File Access & Delivery Settings (Per Tier)
Each tier controls its own access rules.
You can configure:
- Retain access after cancel/pause
Decide whether customers keep access if they cancel - Download limits
- IP address limit
- Download limit per file
- Link visibility
- Thank You / Order Status page
- Customer account page
- Download emails
- Automatically email download links on purchase

Step 5: Save the Subscription
Once all tiers are configured:
- Click Save subscription
After saving, you’ll see a confirmation modal prompting you to connect files for each tier.
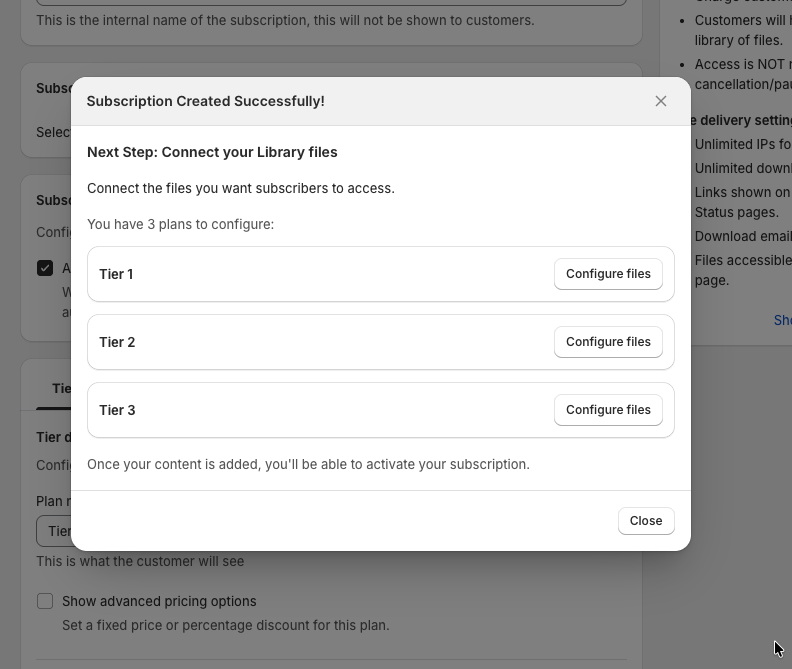
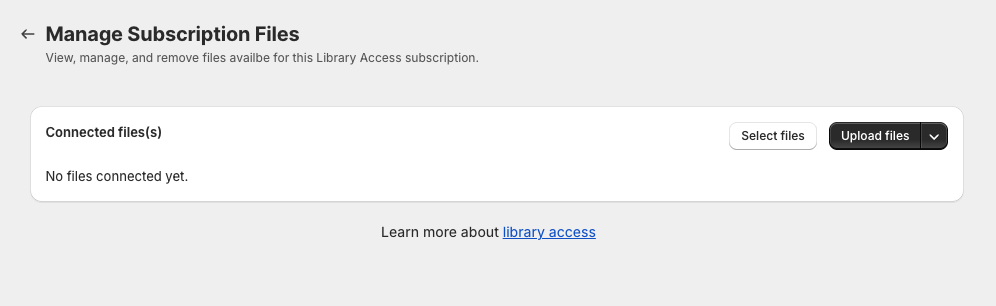
Step 6: Connect Library Files (Per Tier)
For each tier:
- Click Configure files
- Upload or select files from your Content Vault
- Files added here are accessible only to subscribers of that tier
Each tier has its own file library — files are not shared automatically between tiers.
Step 7: Activate the Subscription
Once files are connected for all tiers:
- Click Set Active
Your Library Access subscription is now live.
Customers can:
- Select a tier on the product page
- Subscribe
- Immediately access the files assigned to their tier
Final Notes
- Content Vault handles billing, access control, and delivery together
- Library Access subscriptions unlock content immediately,
- Access behavior is configurable per subscription and per tier.
- Tiers allow multiple pricing plans without product duplication
If you need help choosing the best setup for your use case, feel free to reach out via live chat — we’re happy to help you get this dialed in.